To burn recordings to DVD on your computer, you must install the SnapStream DVD Burn Helper plug-in for your web browser.
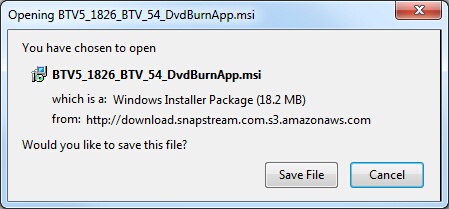
Download the latest version of the plug-in from the SnapStream website.
If you have the option, select Open or Run; otherwise, save the file, then double-click the file to run it.
The Setup Wizard will launch. Click Next.
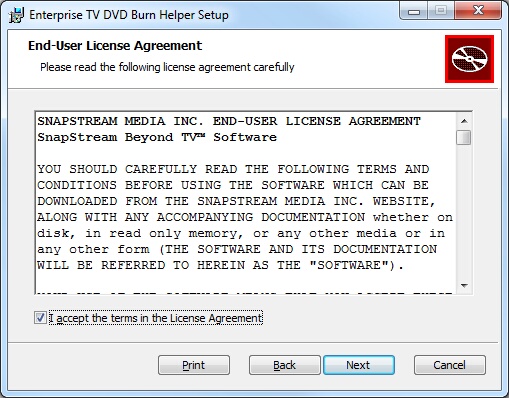
Next you will see the End User License Agreement for the DVD Burn Helper. Click the checkbox and then click Next.
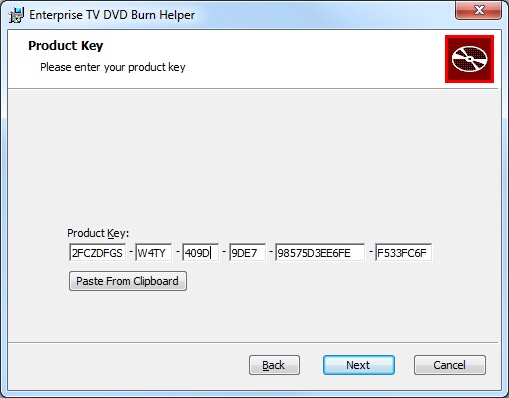
Next, enter your product key. This should be available from the administrator of your SnapStream.
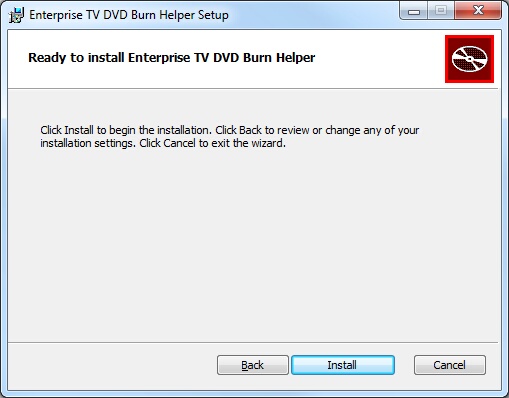
Click Install.
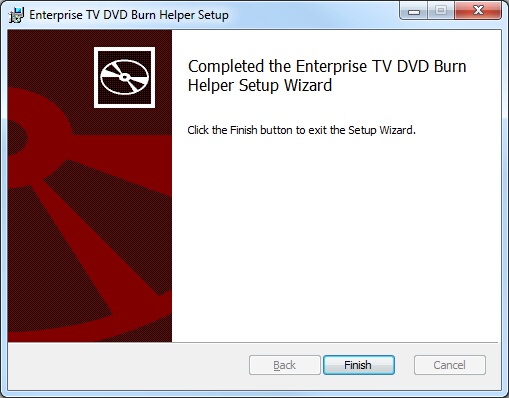
Once the installation is complete, click Finish. Then restart your web browser and return to the web interface.
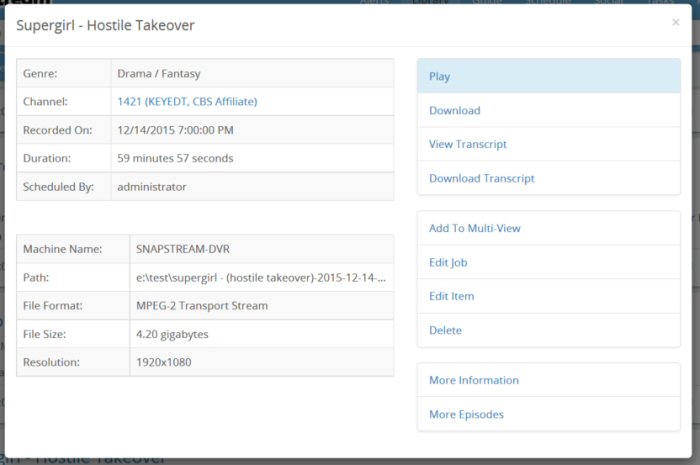
Open the Library. You will now see the Burn to DVD option for each completed recording, under More.
Only completed recordings can be burned to DVD.
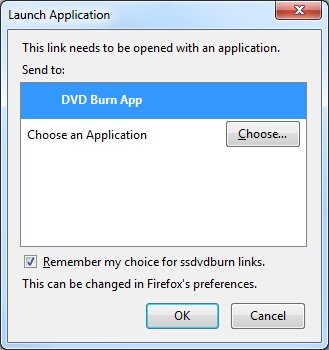
To get started, find a program that you would like to burn, and click the button. If you are prompted to select an application with which to open the link, select DVD Burn App, and check the box to remember your selection.
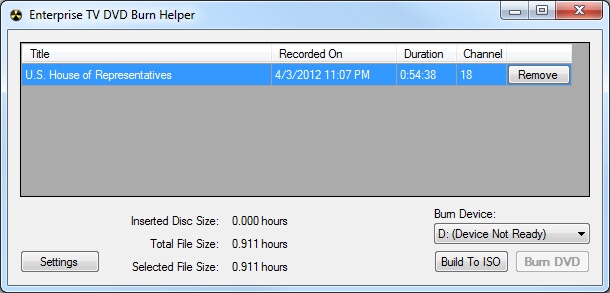
The DVD Burning window will open.
The selected video will be displayed. To add another video, return to the Librar, select a recording, and hit Burn to DVD. To remove a recording, click Remove.
The DVD Burn Helper will display the following information:
Title, Date Recorded, Duration, Channel Information about each recording that has been added to the disc.
Inserted Disc Size
Total time available on the DVD that is in your drive.
Total File Size
Total length of time of all recordings that have been added to the disk. If this number is greater than Inserted Disc Size, you won't be able to start burning the DVD. Remove some recordings from the list until this number drops below Inserted Disc Size.
Selected File Size
The length of the currently selected recording.
The following options are available in the DVD Burn Helper:
Burn Device
If you have multiple DVD burners available on your local computer, you can switch between them here.
Build to ISO
This option will create an ISO file (a disc image) from the recordings in the list. NOTE: This option will not appear for users running Windows XP.
Burn DVD: Starts the burning process. If a blank disc is not currently inserted in the drive, this option will be grayed out.
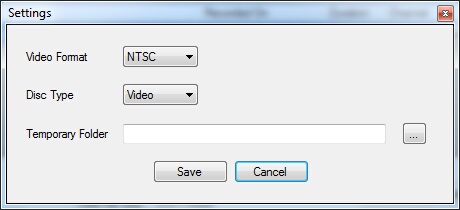
Settings: Click to see advanced settings.
Video Format: Switch the format used for burning video discs. Available formats are NTSC and PAL.
Disc Type: Switch between burning a Video or a Data disc.
Temporary Folder: The DVD Burn Helper will download the recordings to your computer in order to queue it for burning. When the burn is completed, the recordings will be deleted. If there is a specific folder in which you wish these temporary files to be stored, you can select it here.
Note:If you don't know what value you wish to use for these settings, simply use the defaults.
Notes
•
Your SnapStream appliance may not be running the latest version of the software. In addition, a limited number of licenses for the DVD Burning plug-in are included with each appliance. Check with the administrator of your SnapStream before installing the plug-in.
•
The DVD Burn Helper burns DVDs on your local computer, NOT on the SnapStream appliance.
•
The DVD Burn Helper is currently available for Windows PCs only.
•
Only recordings in the MPEG-2 (SD and HD) and WMV formats can be burned to DVD. H.264 recordings cannot be burned to DVD.
•
Burning a DVD may take up to a few hours to complete, depending on the length and format of the project and the speed of your DVD burner.