|
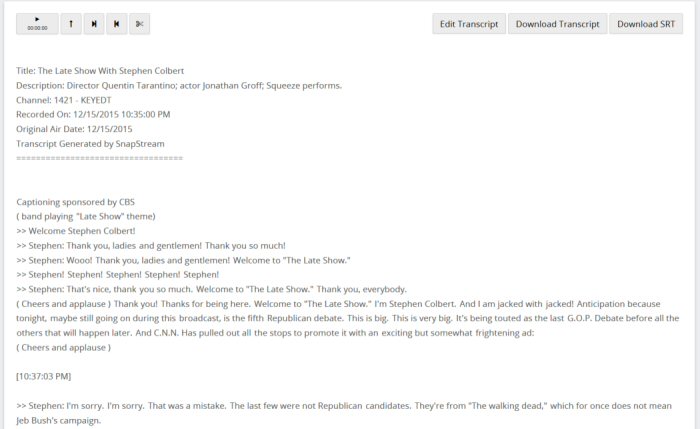
To view the transcript for a recording, select View Transcript from the options to the right of the recording information in the Library.
The transcript viewer allows you to create clips directly from the transcript or edit the text of the transcript.
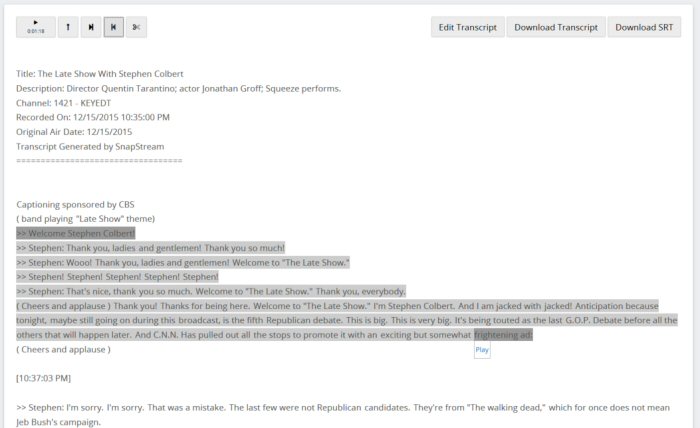
To play back video from a point in the transcript, click a word or phrase, then click Play.
You can also click the Play button at the top of the page, which will be marked with the elapsed time at the highlighted point.
Note: The start and end points will be set at the beginning and end of a phrase automatically. When finished, hit C or click the
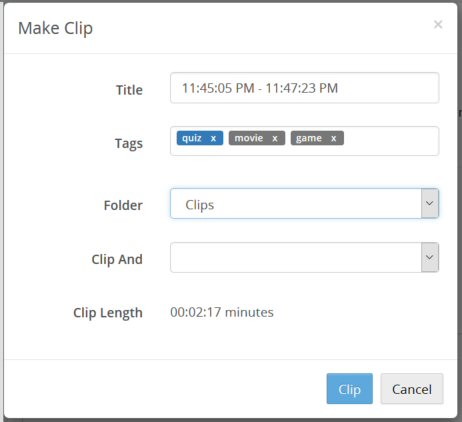
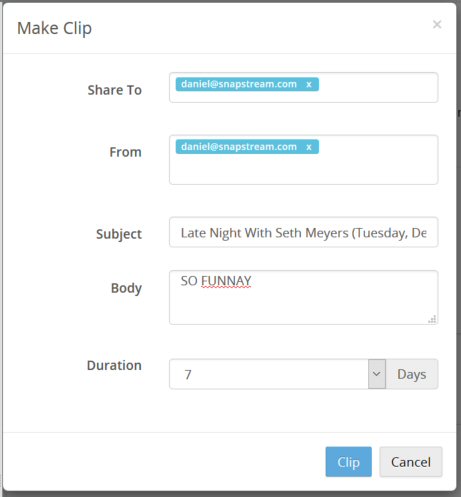
You'll be prompted to enter a name for the clip and to select a destination folder. The default folder for your clips will be the folder that you selected the last time you created the clip. To submit a Process on the clip automatically after it is created, select one of the following options. If you select Share Clip, you will be prompted to enter one or more email addresses to which the clip should be shared (Share To), a From email address, and any information that you wish to include in the Body of the email.
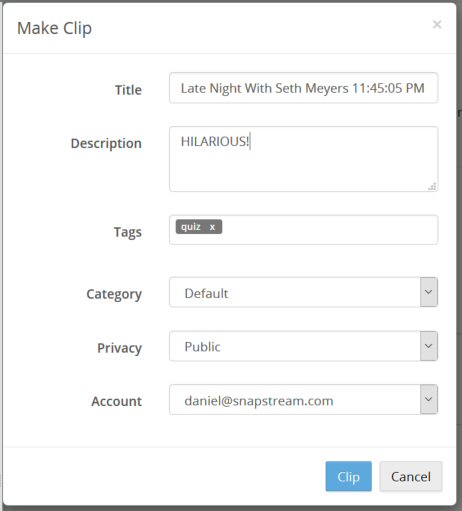
See Share Clips for more information. If you select Upload Clip, you will be prompted to enter a Title, Description, any Tags that you desire, a Category, a Privacy setting, and the YouTube Account under which the clip should be uploaded.
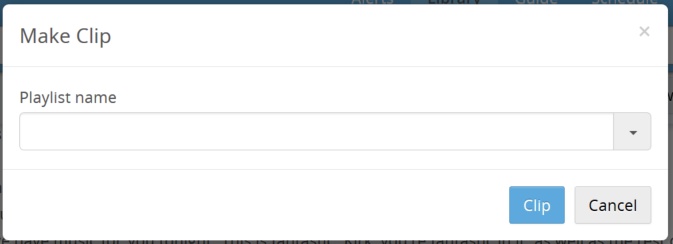
See Upload to YouTube for more information. If you select Add to Playlist, you will be prompted to enter the name of a playlist. To create a new playlist, enter a name that hasn't been used yet.
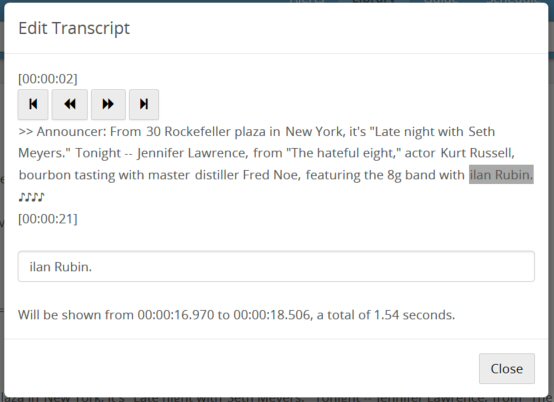
See Playlists for more information. To edit a transcript, click Edit Transcript, then click the portion of the transcript you wish to edit.
Then, click on the phrase you wish to edit within the segment of the transcript, and make changes to the highlighted phrase in the text box below. Click To save your changes, click Close. Then click Save in the banner at the top of the page.
|

