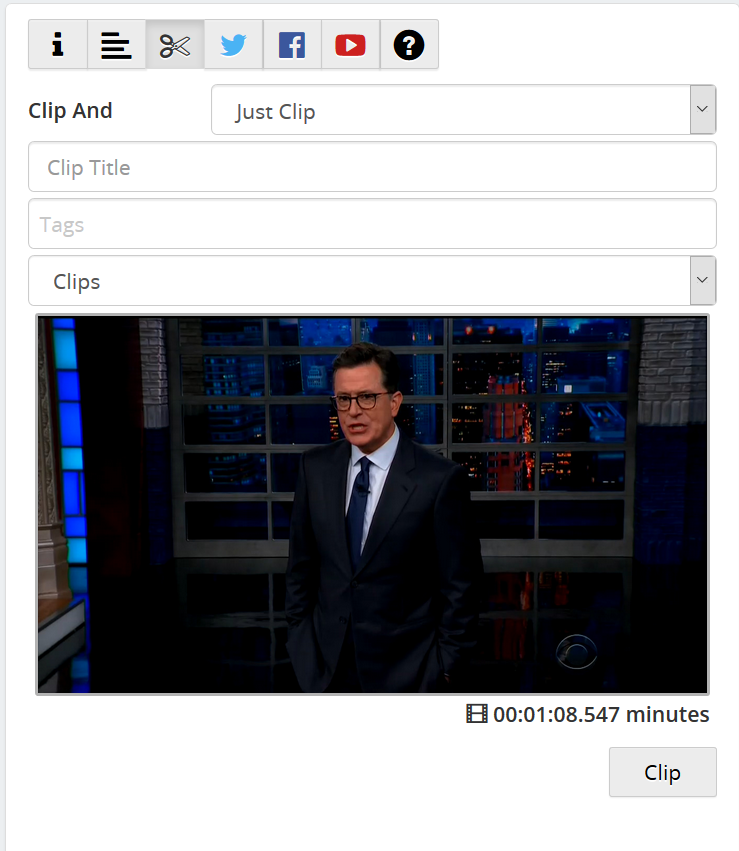
Trim- instead of creating a clip, edit the original recording so that it starts and ends at the endpoints you've specified. Only available if the Enable Trimming option is On in Miscellaneous Settings.
The folder that you selected the last time you created a clip will be your default folder. (For information on recording folders, seeFolder Manager)
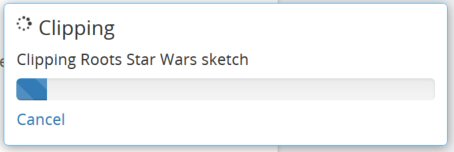
After you click Clip, your system will create the clip and save it to the folder you've selected. A popup will appear showing the progress of the clip:
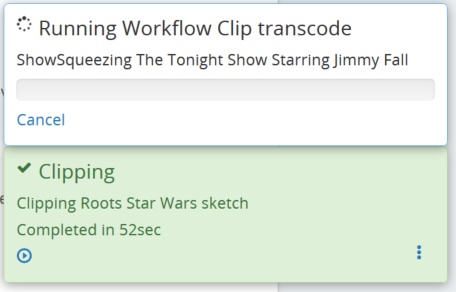
If you selected any processing options, or your system is configured to run a Workflow that is triggered by clips, you may also see a pop-up for the resulting task, as shown here:
For more on the Clip progress pop-up, see Task Pop-ups. You can also check the status of the clipping operation on the Tasks page.

 button.
 button to
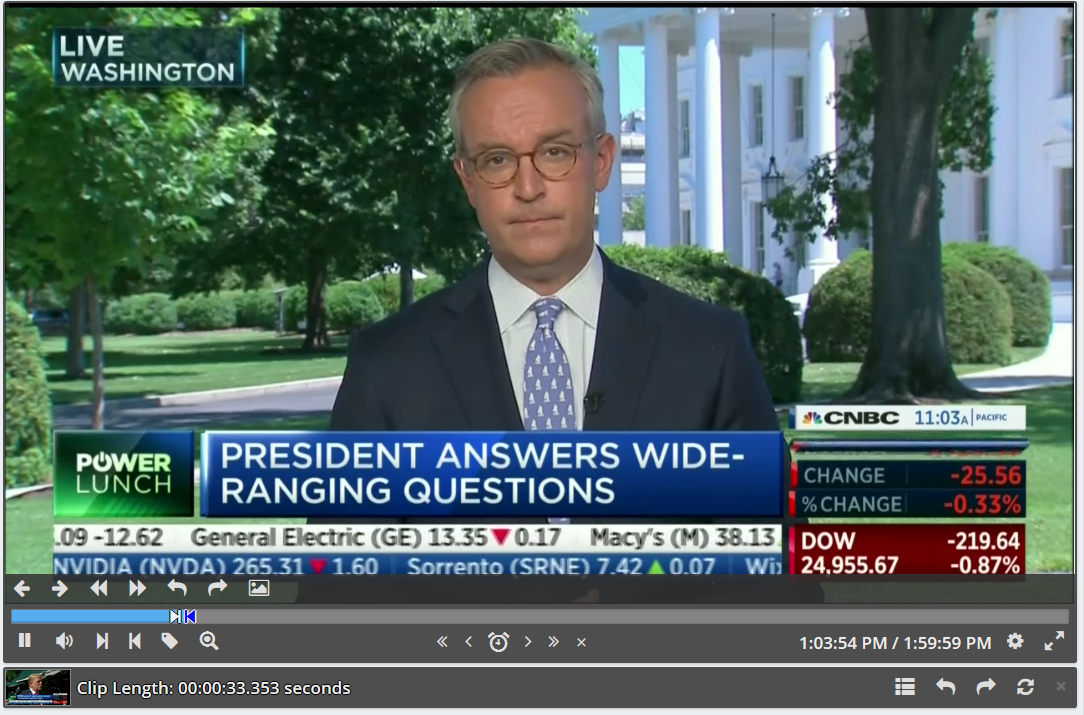
 and
and  buttons, or use the V and B keys.
 button.
 button.
 button. See
  button.