|
To burn recordings to DVD on your computer, you must install the SnapStream DVD Burn Helper plug-in for your web browser.
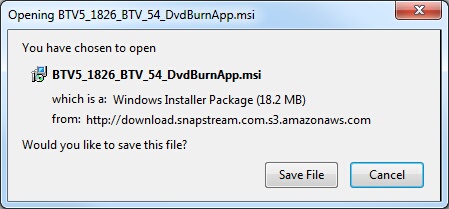
If you have the option, select Open or Run; otherwise, save the file, then double-click the file to run it.
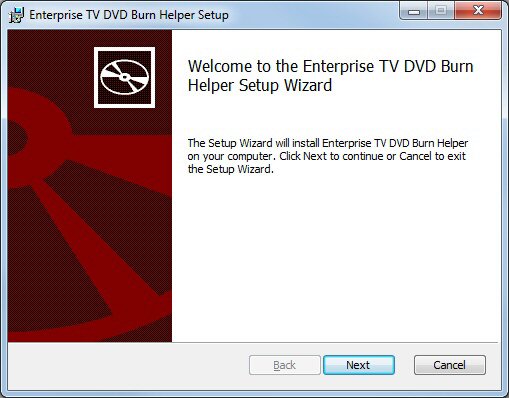
The Setup Wizard will launch. Click Next.
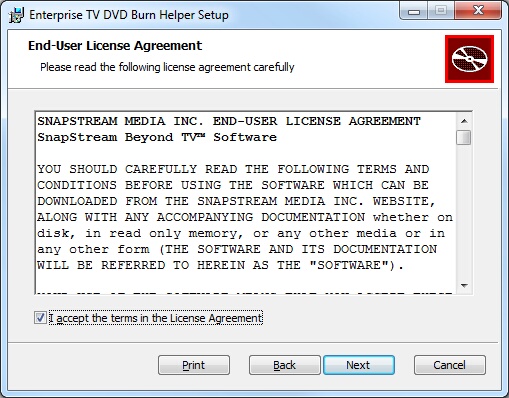
Next you will see the End User License Agreement for the DVD Burn Helper. Click the checkbox and then click Next.
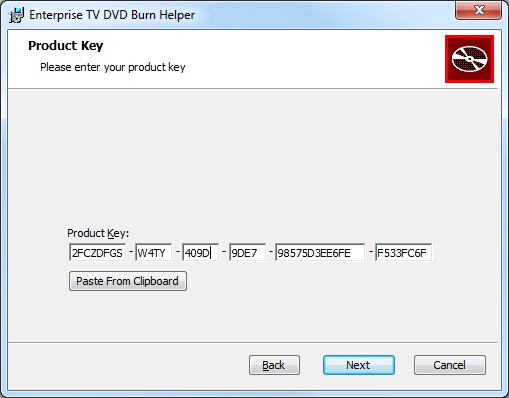
Next, enter your product key. This should be available from the administrator of your SnapStream.
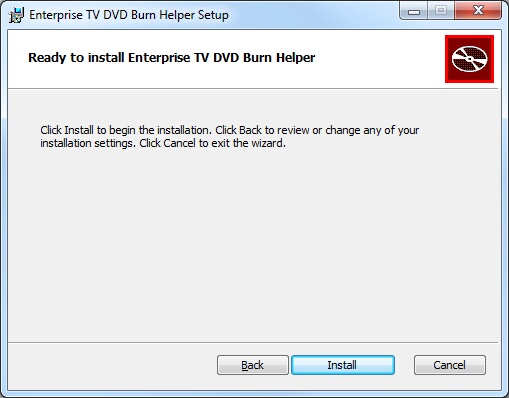
Click Install.
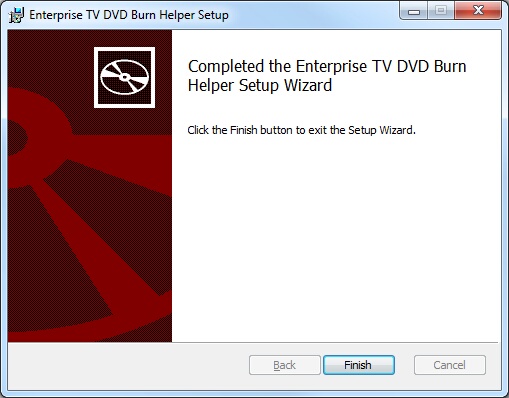
Once the installation is complete, click Finish. Then restart your web browser and return to the web interface.
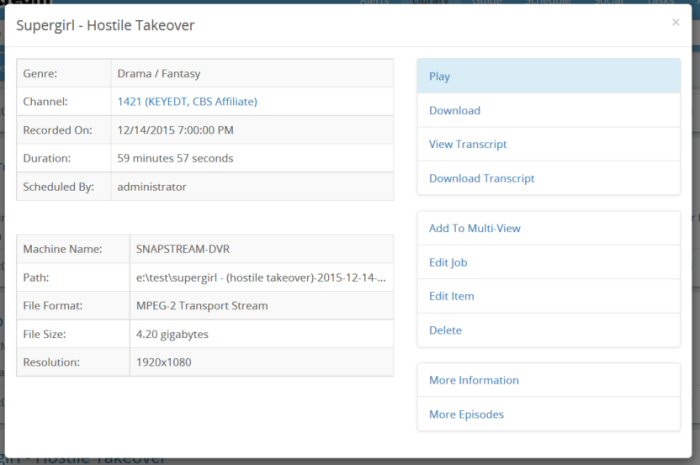
Open the Library. You will now see the Burn to DVD option for each completed recording, under More.
Only completed recordings can be burned to DVD. To get started, find a program that you would like to burn, and click the button.
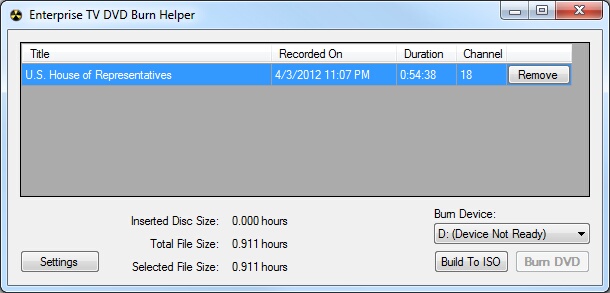
The DVD Burning window will open.
The selected video will be displayed. To add another video, return to the Librar, select a recording, and hit Burn to DVD. To remove a recording, click Remove.
The DVD Burn Helper will display the following information:
The following options are available in the DVD Burn Helper:
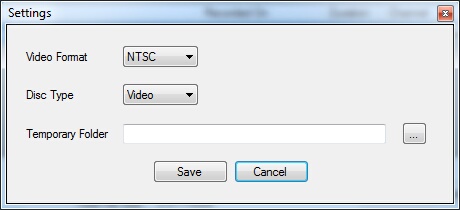
Burn DVD: Starts the burning process. If a blank disc is not currently inserted in the drive, this option will be grayed out. Settings: Click to see advanced settings.
Video Format: Switch the format used for burning video discs. Available formats are NTSC and PAL. Disc Type: Switch between burning a Video or a Data disc. Temporary Folder: The DVD Burn Helper will download the recordings to your computer in order to queue it for burning. When the burn is completed, the recordings will be deleted. If there is a specific folder in which you wish these temporary files to be stored, you can select it here. Note: If you don't know what value you wish to use for these settings, simply use the defaults.
Notes
|
