|
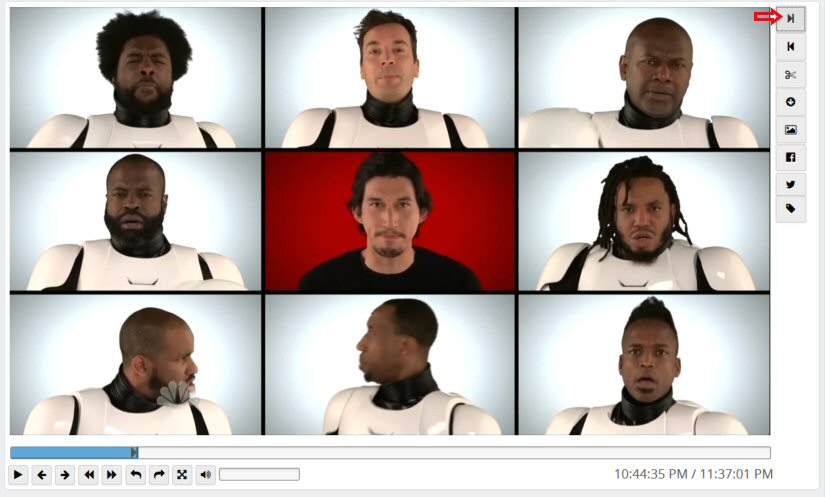
To start creating a clip in the web player, hit Z or click the Note: Clipping icons do not appear when playing back in fullscreen mode. Keyboard shortcuts for clipping are still functional.
A marker will appear in the timeline at the current time, as shown above. This marks the beginning of the clip.
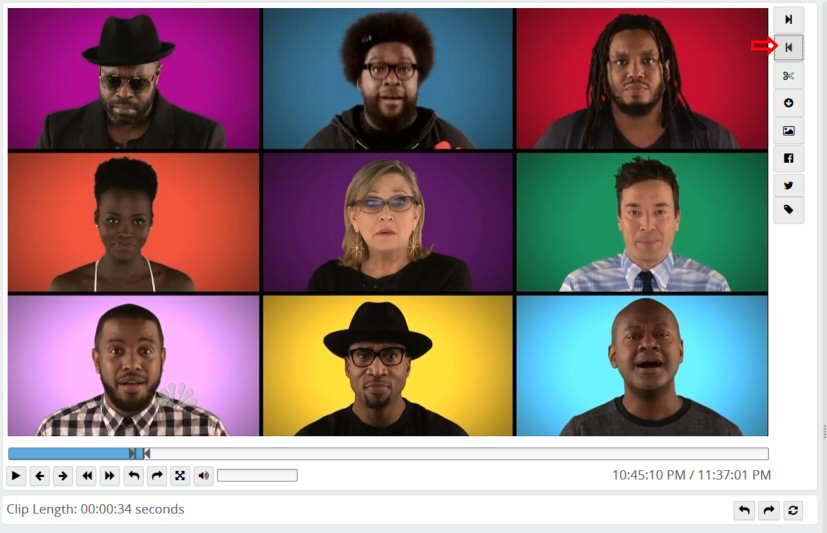
Now, hit X or click the
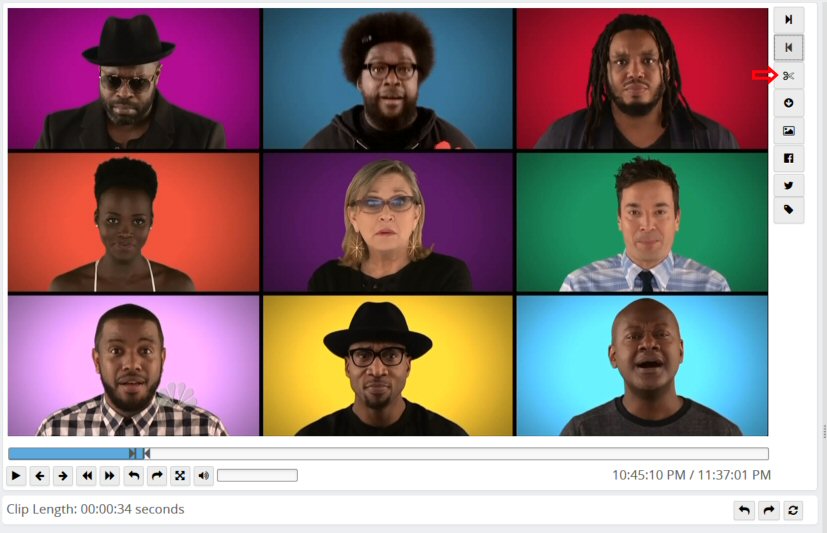
To jump to the start or end point you've set, click on the endpoint marker, or use the V and B keys. To change the start or end point of a clip, you can simply set new ones, or drag the endpoints to a new location on the timeline using the mouse. When you're satisfied with the endpoints you've selected, hit C or click the
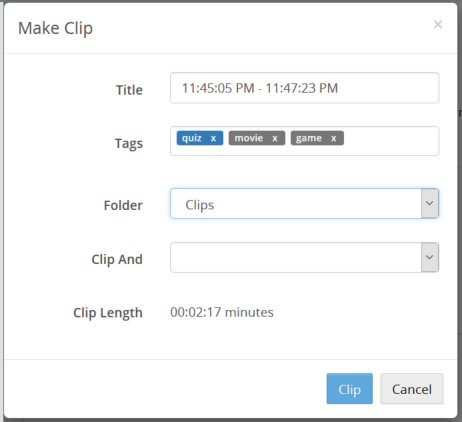
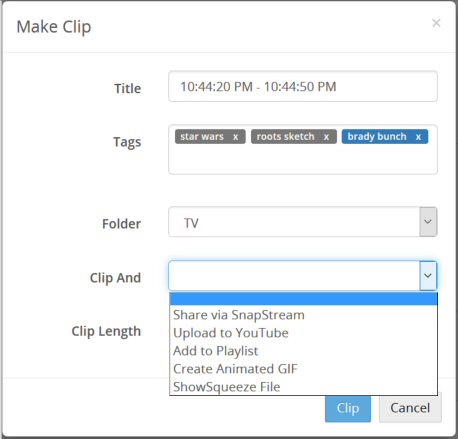
The folder that you selected the last time you created a clip will be your default folder. You can also enter any tags that you would like to be added to the clip. (For information on recording folders, see Folder Manager)
You can take action on a clip immediately after it's created by selecting one of the Clip And options.
The following actions are available:
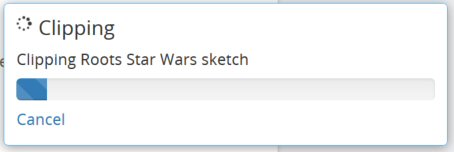
After you click Clip, your system will create the clip and save it to the folder you've selected. A popup will appear showing the progress of the clip:
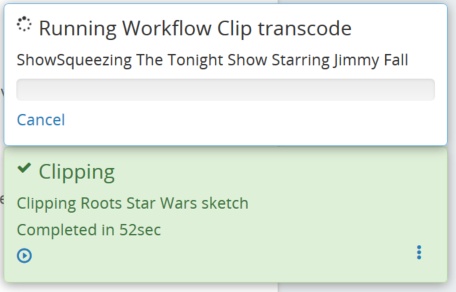
If you selected any processing options, or your system is configured to run a Workflow that is triggered by clips, you may also see a pop-up for the resulting task, as shown here:
For more on the Clip progress pop-up, see Task Pop-ups. You can also check the status of the clipping operation on the Tasks page. |